DIY Ornaments Coordinate with Decor
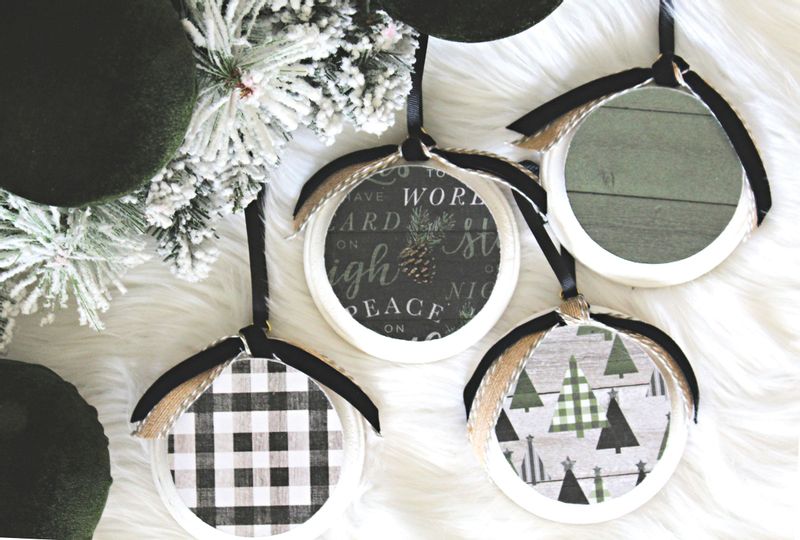
The best thing about DIY ornament projects is that it enables you to tailor them specifically to your tastes, and often for a fraction of the cost of their pre-made counterparts. Have a specific theme in mind for this year's Christmas tree, but can't seem to find what you need? Then, this DIY is for you.
What you'll need
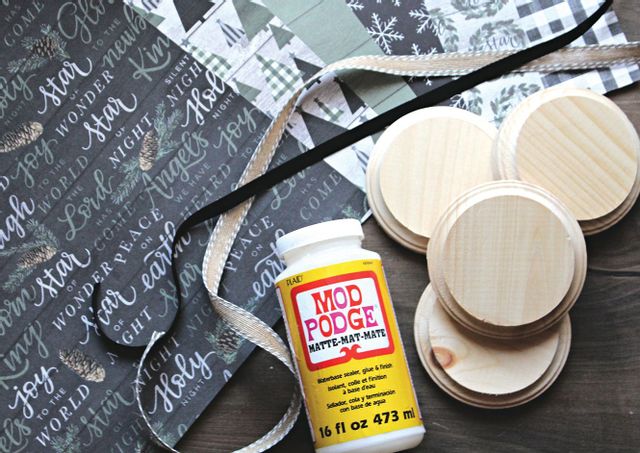
Four Unfinished wood circles
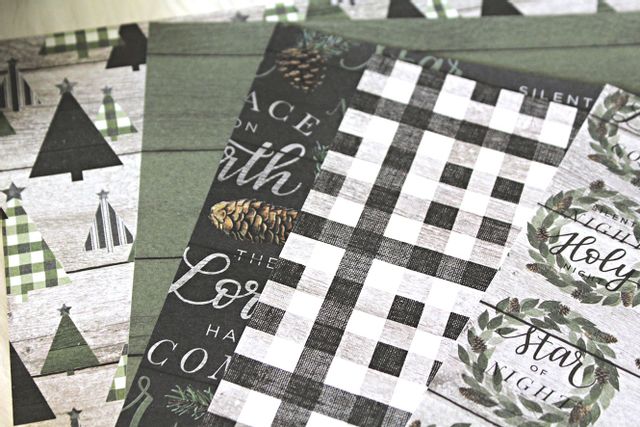
Scrapbook paper in four coordinating patterns
Mod Podge
Ribbon
Eye hooks
Craft paint
Sand paper
Clear coat spray paint
Hot glue gun and hot glue
Directions
Start by sanding the wood. Knock down any rough edges and be sure to dust thoroughly.
Paint the wood. Be sure to paint the back of the ornament as well as the sides. The front won't need to be painted because it will be covered with the scrap book paper.
Trace the ornament on the back of the scrapbook paper to cut to size.
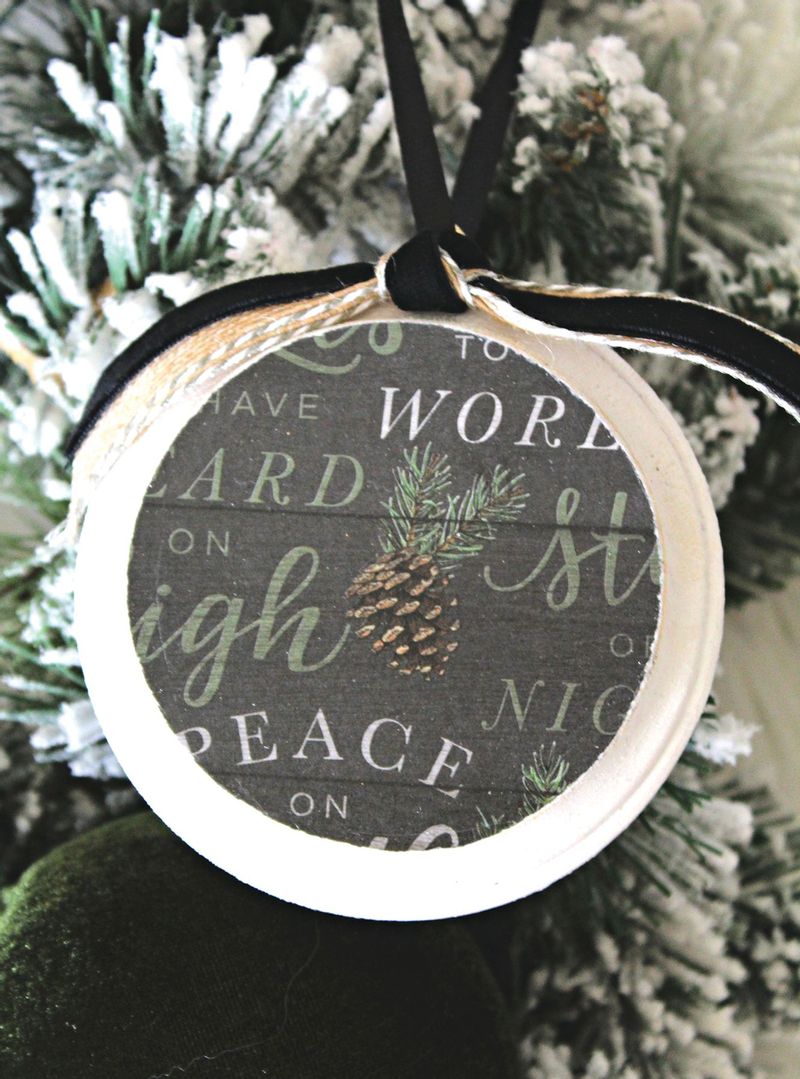
Adhere the scrapbook paper to the front of the wood disc using Mod Podge. Be sure to saturate the entire back of the piece of paper. Place paper on the wood, making sure to smooth out adn release and air bubbles trapped.
Once paper is adhered, brush over the top of the paper with coat of Mod Podge to seal.
Once the Mod Podge is dry, take your sanding paper and sand around the edges of the paper.
Seal the ornaments using a clear coat spray. Note: using a gloss spray paint gives the ornament a pretty sheen.
Add an eye hook to the top of the ornament.
Tie a ribbon to the eye hook for hanging the ornament.
Hot glue ribbon or other embellishments to finish your ornament.